It gets cold in the winter. This winter in particular reaching depths much colder than usual. Over the weekend, like much of the country, I found myself in a bit of a surprise blizzard (the weather had called for 2-4 inches of snow but this was a bit more intense than anybody anticipated). Upon making some tea and looking outside, I found that the outdoor situation had already determined for me that I wouldn’t be going anywhere on this day:

It’s wildly blowing and coming down in case the picture doesn’t articulate that, this was like 8 AM
While I’m a fan of winter in general, winter sports, winter beers, winter food…the way snow looks (people in cold weather climates their entire lives bitching about the cold…people bitching about those people…etc). I don’t need to be OUT IN IT to enjoy it unless I’m snowboarding or something. Since I wasn’t, it was time to figure out what I could make relatively easily with what was on hand. Oh, and it needed to be that kind of comforting body hug type food to offset the howling wind (No joke wind was hard enough to move my blinds on my windows because they LEAK like nobody’s business).
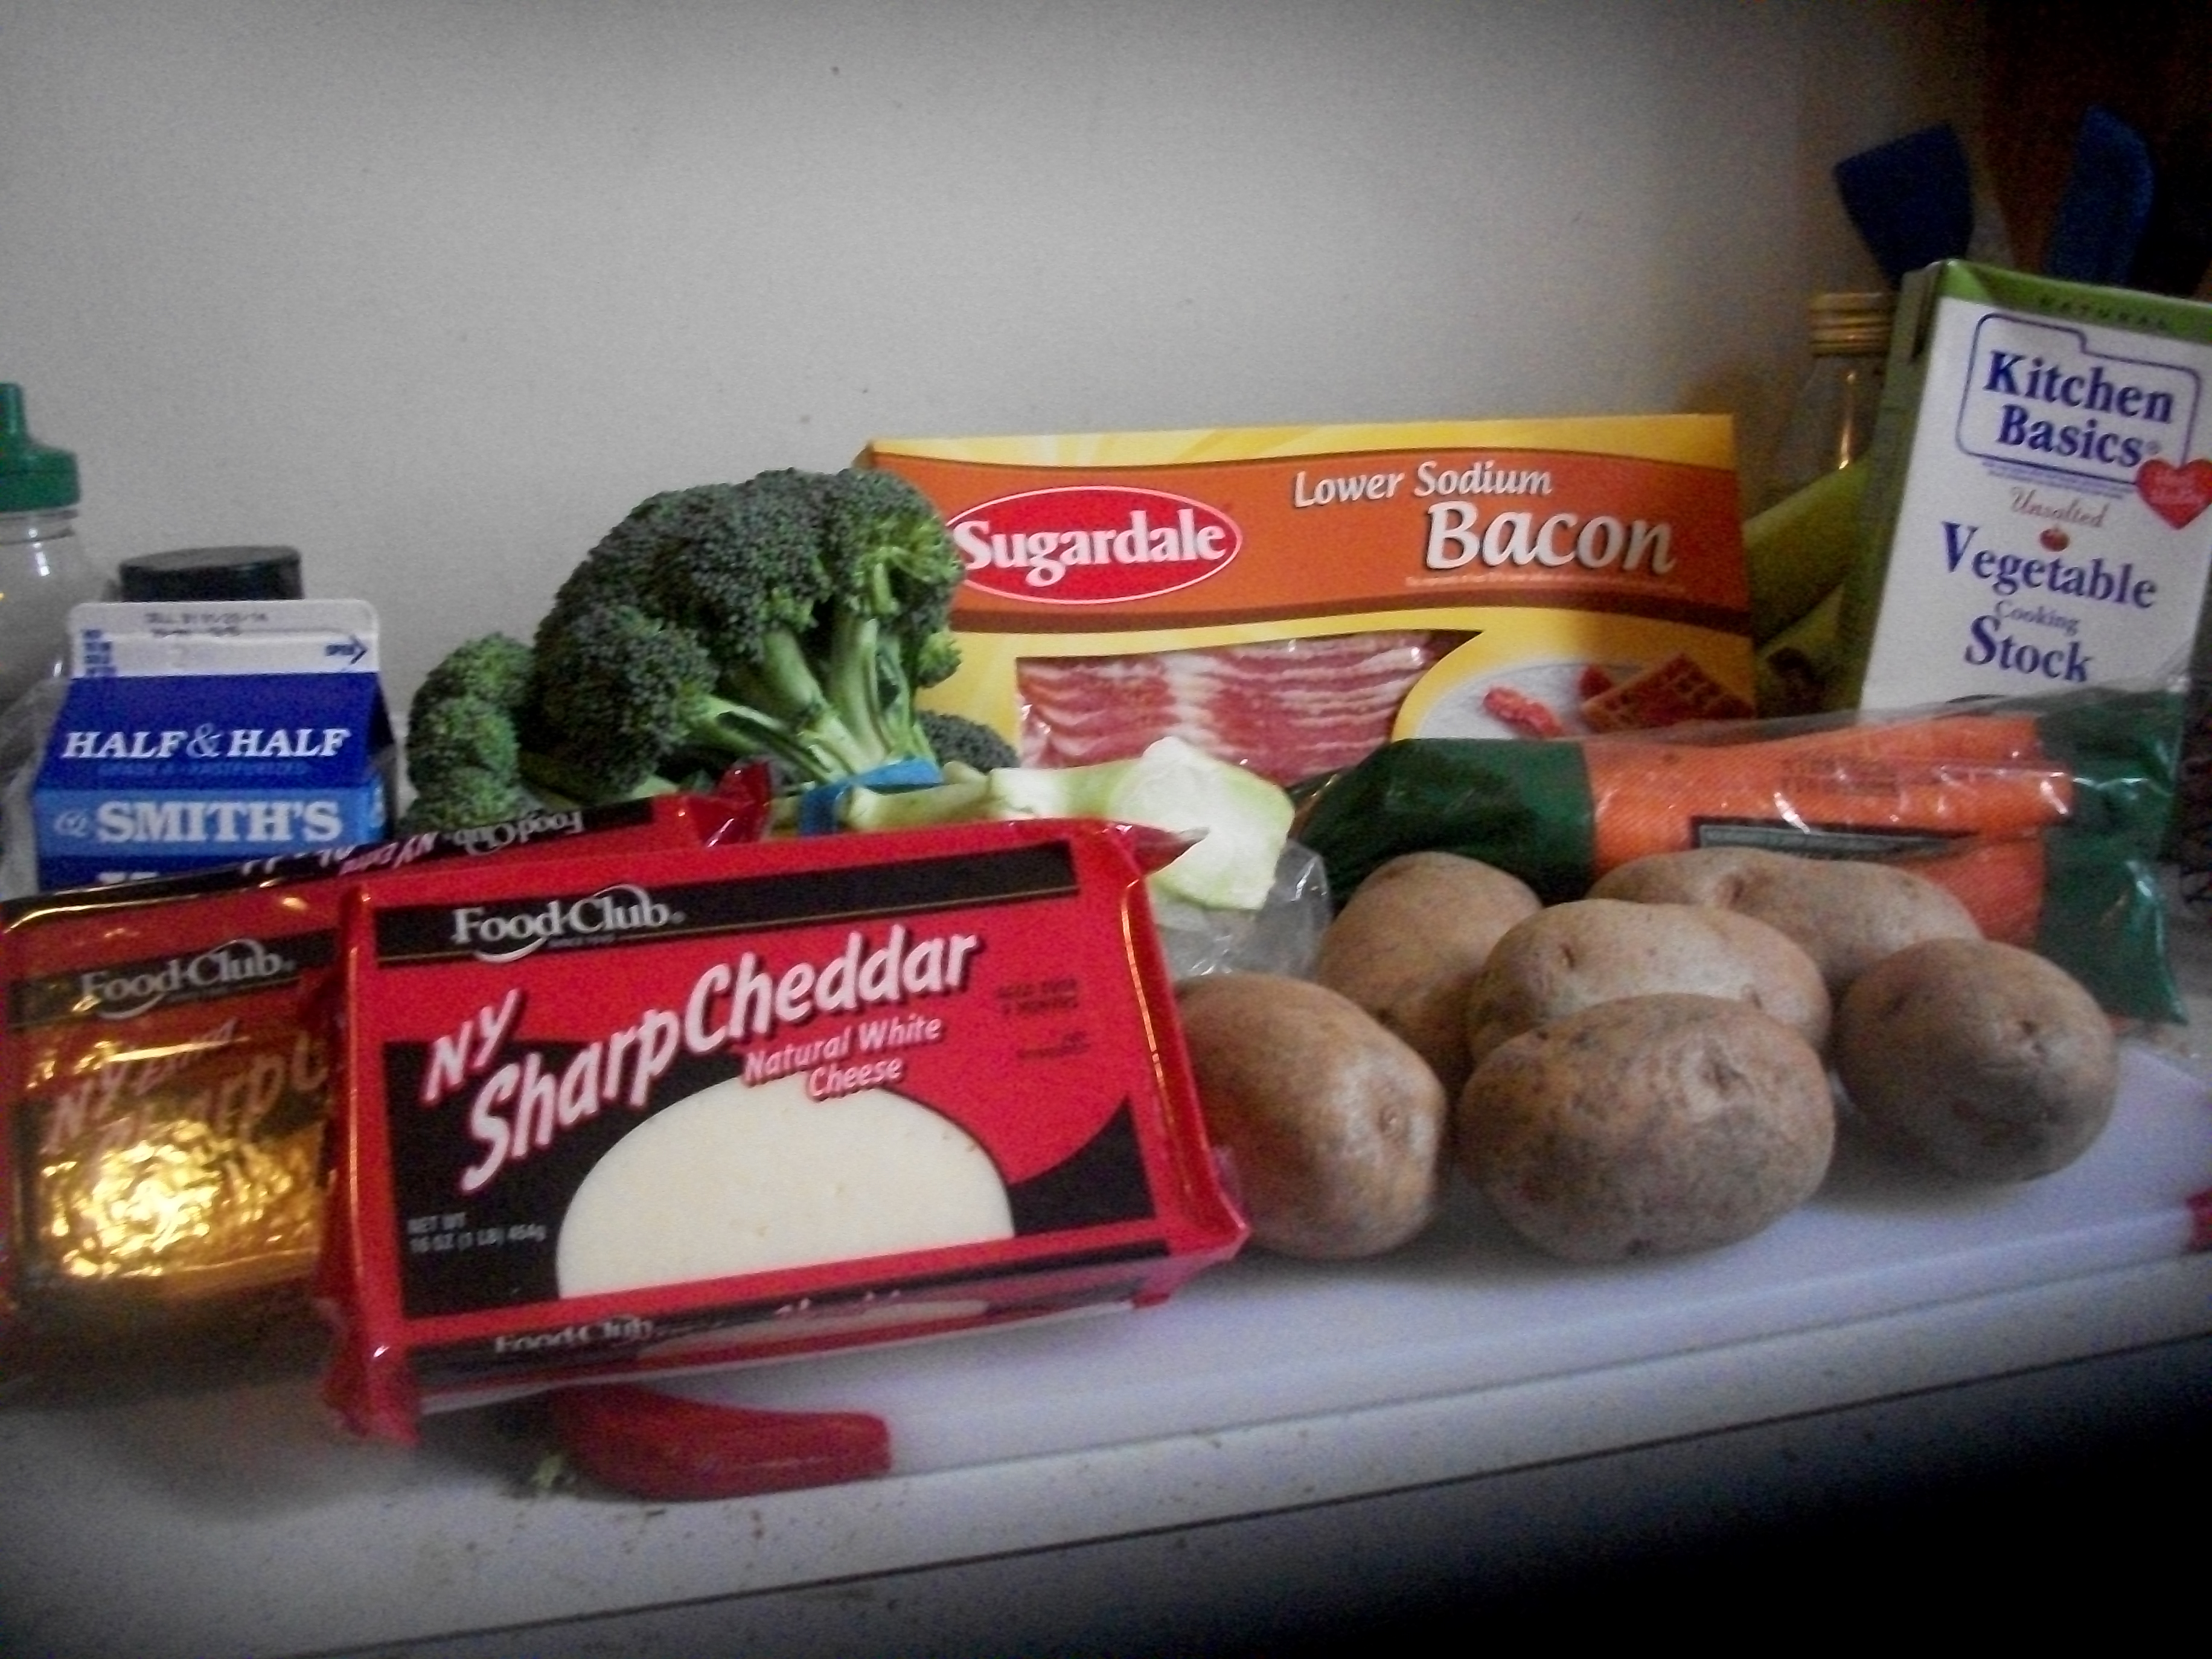
Since it’s impossible to buy potatoes in a quantity that could serve 1 human in a reasonable time frame, the 5 pound bag (ON SALE FOR 2.99 IT WAS TOO GOOD OF A DEAL YOU’VE GOT ME PRODUCE SALES!) has been getting a workout. Mainly just baked, sometimes hashed with breakfast…but now I was going to try and bake them…and soup them. So…here’s the starting lineup for Baked Potato Broccoli Cheddar Soup (It’s like 2 soups in 1!):
- Potatoes (you will bake them)
- Cheese (you will melt them)
- Broccoli (You will puree them)
- Carrots (You will dice them)
- Onions (You will sweat them)
- Bacon (You will crisp them)
- Half & Half (You will simmer them)
- Broth (You will reduce them)
- Butter (You will make things delicious with them)
 So, first things first, you need to bake your potatoes. I know of no more reliable way than a 425 oven for about an hour or so. There are probably quicker ways of doing this but this way will yield nice crispy skin and easy to eat insides….which is all we’re looking for. Besides, it literally cannot be a BAKED potato unless it spends a good bit of time inside an oven right? So, lather the taters up with oil on a pan:
 To keep my hands from getting incredibly messy, I usually drizzle oil over the top and then just shake the pan around. Then, salt and pepper the potatoes generously. A note on why there’s 6 potatoes there. I didn’t know EXACTLY how many I was going to need to thicken up the soup appropriately so I made more than necessary so I didn’t run short. I ended up using 4 of the bigger ones and the other 2 were just used for leftovers this morning. Pop that sucker in the Oven and set the timer for like…45 minutes.
In the meantime, you should chop and portion the rest of your soup ingredients so that the rest of the process is super easy and you can expedite cleanup. First break the broccoli up and dice the carrot up. Since this is all going in the food processor later, don’t worry about it being perfectly chopped:
 We put the carrot and the Broccoli in the same bowl because they will go into the soup at the same time in future steps. I’ve learned that thinking ahead can save an immense number of headaches down the road.
Next, chop the bacon and the onion, I put these together since they go in…CLOSE…to the same time but really the bacon goes in first but it’s not hard to separate from the onion:
 After that you’ll need to measure out your cheese. I was mashing 2 soups together so I decided that 10-12 ounces of cheddar cheese is what I was going to go for since cheese plays a prominent role in both traditional versions of these soups. So, hack away at the blocks of white and yellow cheddar until you get something like this:
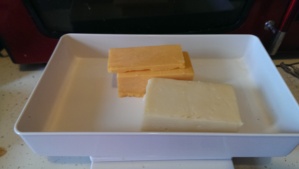
Yep, the cheese is weighed. Why, because “cups” doesn’t make sense unless you’re using shredded and even then…what if it’s shredded at a different thickness? Since the cheese is less a topping for this and more a “structural requirement” I figured precision was better, we came out to 11 and 3/4 ounces which is good enough for me.
Now, you’ll just roughly cube/chop the cheese since after all, we are just going to melt it again:

To be fair it was tough to not just treat this bowl as a snack while the potatoes baked
Remember when you set the potato timer for 45 minutes even though I told you that the potatoes were going to cook for an hour? Well, that’s because at ROUGHLY the 45 minute mark (and to be honest I could have started earlier) you’ll start to prepare the rest of it. So, while the potatoes finish up…dump in that bacon (4 strips worth chopped) and start cooking until it looks like this:
 Remove the bacon but leave the fat. Put the bacon on some paper towels to absorb some grease and TRY (it’s hard, I know) to not treat it like a delicious meat candy snack while you finish the recipe.
Since we left the bacon grease in there, this allowed me to significantly reduce the amount of butter that was needed for the soups from 8 to 4 tbsp. Probably could have reduced more but my assumption is that part of the butter need was literally for the cheese-like sauce I was producing for the soups.
So, Pictures get a little dicey for the next few steps, with multiple ingredients cooking simultaneously, potatoes in the oven finishing themselves off, I kind of forgot to keep taking pictures until it was near the end…so…consider this the radio version of what transpired.
In with the onions for like 5 minutes, they’ll get nice and soft and smell delicious with the browned butter and the fact that they’re onions. Toss in the 1/4 cup of flour and let it brown up (you should visually notice this) it will take about 3 minutes.
Now slowly incorporate the 2 cups of half & half until it’s fully absorbed and starting to look a little SAUCY. then, throw in the 3 cups of broth (I used vegetable, chicken could also work fine I’m sure), and a teaspoon each of: salt, pepper, nutmeg, and paprika. Bring it to a simmer and let it go for 20 minutes while it reduces a bit.
This 20 minutes could really be used for anything, I’m going to take this time to extoll the virtues of cleaning AS YOU COOK. This process, while kind of annoying (UGH I JUST WANT TO SIT DOWN), pays incredible dividends after the fact. By washing things as they can be while you have down time you prevent a massive load of dishes at the end…AND it’s easier since you’re just cleaning a few things at once. This is especially key if you’ll be needing to wash BIG pots, pans, and cutting boards later but your kitchen’s design and size leave you wondering if the “target demographic” was sized somewhere slightly larger than an Ewok:

Ewoks are short…roughly the size of a human child. They would find my kitchen to be luxurious in total available space.
Once that 20 minutes has passed throw in the carrots and the broccoli (picture omitted since the camera wasn’t near me when I did this). Simmer for yet another 20 minutes to cook ’em.
In this 20 minute break adjust your Sim City tax policy on low income housing versus low income industry and try to reconcile why you want the poor people’s wages to be taxed, yet you would prefer them to commute into your city so as not to lower land values with their shanties and country music. BEHOLD THE BEAUTY OF CIRCLESHIRE:

Not pictured: Gridchester (where the poors live and commute from)
Once you’ve contemplated the socioeconomic impact of simulated tax policies on the well being of your own island nation, get back to the soup. It should look fairly soupy at this point…but now comes a GIGANTIC pain in the ass. Pureeing the soup. Fancy people might have a big stick Immersion blender which probably makes this job a breeze. I however will settle for transferring the mixture into a blender a couple of times.
Now, I’ve been over this process before. You need to hold the lid on the blender TIGHT. Far tighter than you think you need to so you can avoid scalding hot food stuffs on your face, walls, and ceilings. Once that’s done, return to the pot and put over some medium low heat.
Time to bring that cheese on over and add it….slowly…and stir constantly until the consistency is smooth and you’ve incorporated all the cheese:

As you can see the soup has a nice cheesy looking consistency to it. At this point your potatoes should be cool enough to handle (since I didn’t cover it I left them in the oven for an hour and 10 minutes then turned off the heat and let them sit in there to cool since the rest of the steps took a lot longer than I anticipated). Cut them into chunks and add to the soup. Use your best judgement here…if you want something heartier…then add more…if you want something soup-ier then add less. THERE ARE NO RULES IT’S COOKING JUST DO SOMETHING.
Once you’ve made those final CRUCIAL decisions about potato to cheese soup ratio, put it on a plate with a bit of cheddar bread that you warmed up in that same warm oven and top with the bacon crispies…and BOOM YOU’VE MADE soup squared:

Ohh buddy does this taste good? Yes, yes it does. It combines the warming goodness of broccoli cheese soup (YES THIS COUNTS AS EATING A VEGETABLE) and the potatoes give it some heft so that you’re not left hungry. The bread is really just there for mop-up duty. I got 5 servings out of it but could have stretched it to 6. Soup freezes incredibly well so I instantly put a couple of them in there for a rainy (snowy, whatever) day.
Nutritionally speaking, at 5 servings, this is packing about 580-600 calories a piece. Less so if you don’t have the bread with it. The amount of cheese could probably be reduced by a couple of ounces getting it in the 10 ounce range, and some butter could be removed and or a substitute for half and half could be employed to lower that total calorie count. While generally a vegetable based soup should probably be healthier than this, it wasn’t the goal when I set out to make this, although there definitely seem to be some “easy wins” to lighten the thing up.
So there you have it, you’ve managed to make 2 soups and economically persecute an entire class of sims in new cities you built from the ground up. Not bad for a day in which the stairwell to check the mail was all the further you made it out of your apartment.


 In the 40 minutes or so you have to kill you should read your recipe a lot and figure out EXACTLY all the stuff you’re going to have to do. It’s not hard, but it’s a lot at once. And, it had been awhile since I had last tried to do any of this and take pictures at the same time.

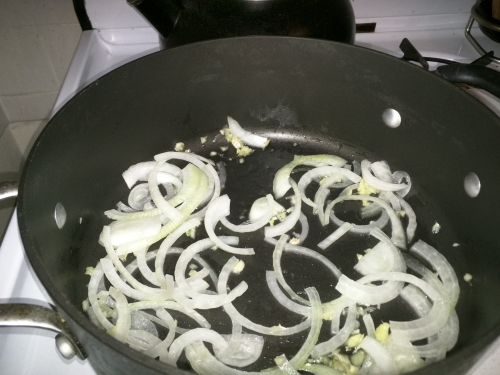 You’ll have to watch those start to soften before it’s time for the next step. Since your domicile will already smell like delicious baked chicken, the onion ginger and garlic are just gonna add into that whole joyous aroma and won’t be the best cue for “ready”. But, when they look like they are, dump in the chicken stock, a few bones, and cover and bring to a boil:


